TacoDerek
5️⃣ Platinum
I just got these as well, but I haven't started it yet today. It'll be my first time using a rivet gun and first time drilling into a car. Any advice?Redline tuning hood lift, installed. Man, why didn't I do that before?

Tacoma3G is a beginner-friendly 3rd Generation Toyota Tacoma forum (2016-2023 model-year specific). We are a small community of people who are focused on good information and good vibes. More about us....
I just got these as well, but I haven't started it yet today. It'll be my first time using a rivet gun and first time drilling into a car. Any advice?Redline tuning hood lift, installed. Man, why didn't I do that before?
Are you supposed to change it at 1000 miles? When I got mine, the dealer said first 5k, then again at 10k, and 10k every one after that.First oil change on my Tacoma today. Just hit 1000 miles. Thought I’d do one after the break in period and planning on doing it every 5k. Let’s see if I don’t get lazy
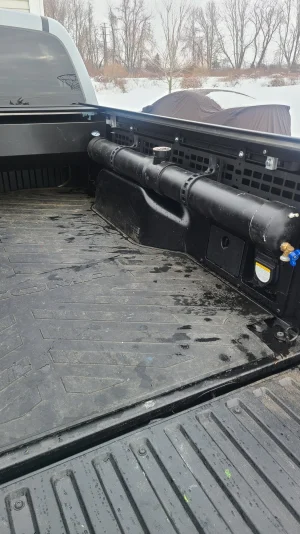
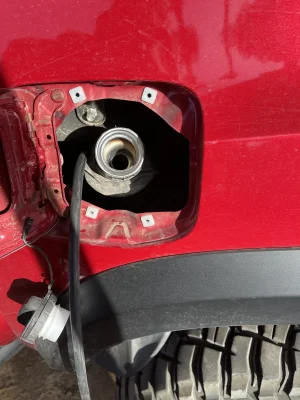
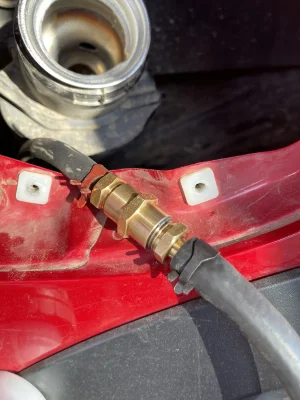
 I rigged up a small donut shaped magnet to some heavy duty wire and fished it out.


Read the instructions. Super easy.I just got these as well, but I haven't started it yet today. It'll be my first time using a rivet gun and first time drilling into a car. Any advice?
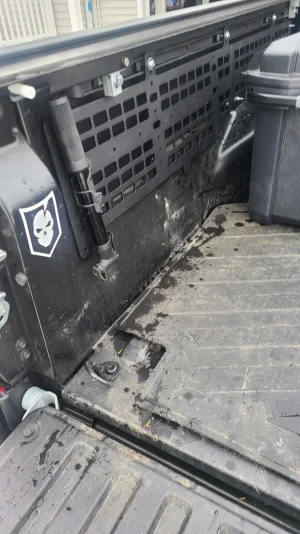
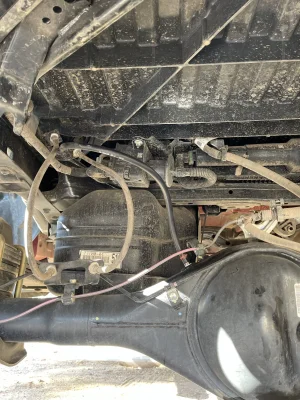
Everything went smooth up until I dropped a rivet under the air intake and then dropped an air intake mounting bolt trying to fish out the rivet. Found the rivet, didn't find the air intake mounting bolt, even though I spent over an hour looking. I even removed the skid plates and drove up and down the driveway hitting the brakes to see if it wiggled loose. Oh well, at least it's not in a belt or something. The hood struts are freaking awesome though!Read the instructions. Super easy.
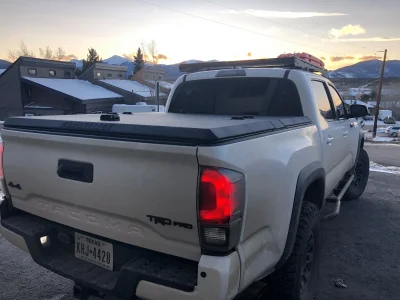
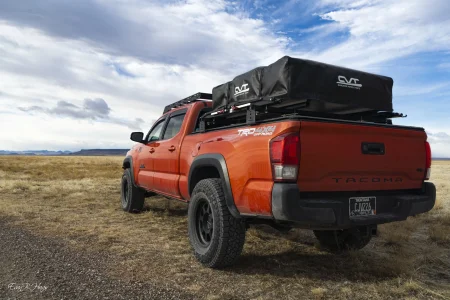
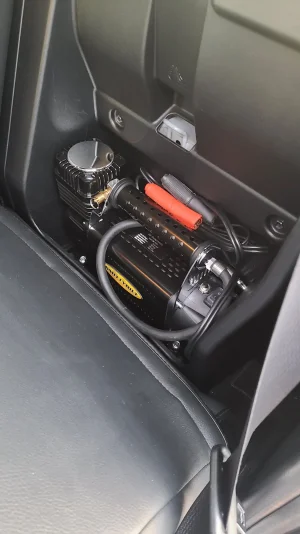
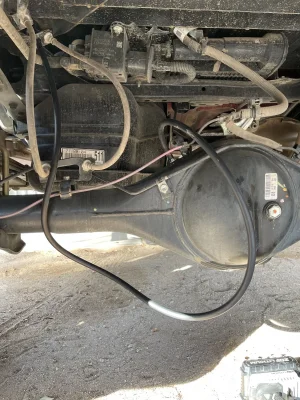
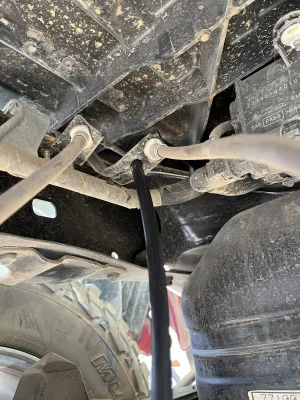
I installed those leaf packs earlier this year and never had a problem with them but I don’t really do any off roading.Santa has been delivering some goodies
Are you supposed to change it at 1000 miles? When I got mine, the dealer said first 5k, then again at 10k, and 10k every one after that.
No you don’t have to. I have no science to back changing your oil after the break in period but I’ve always done it and I’ve tried to stay faithful to 5k mile oil changes on my past vehicles. I’m sure Toyota knows what they’re talking about a hell of a lot more than I do but we’re all creatures of habit. Modern oils are all pretty dam good so you’re good doing it every 10k in my opinion.Are you supposed to change it at 1000 miles? When I got mine, the dealer said first 5k, then again at 10k, and 10k every one after that.
Lol dam do I?Nice. But, don't you have ToyotaCare for 2 years?
 The dealership never mentioned it and I never bothered to look into it. I like changing my own oil anyways so I’ll save my self a drive to a dealership.
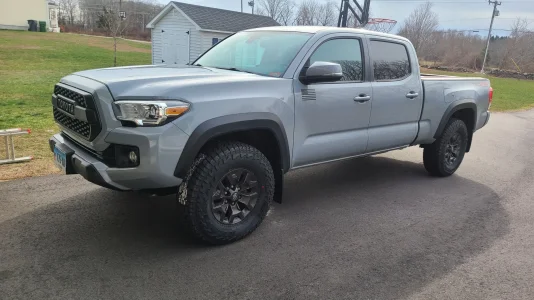
nice looking truck, I manly ride on the beach, and some muddy fields, nothing extreme for me eitherI installed those leaf packs earlier this year and never had a problem with them but I don’t really do any off roading.
did you loose your Auto light feature with yours. I lost that, and running lights, but both on when all lights are
Sorry for your luck, maybeeI dont think i did but my wife took over my truck
Yup. Every new Toyota comes with 2 years of ToyotaCare. When I bought my Taco, they scheduled me in for the first oil change. Same with the 4Runner I just bought. Also, do as you wish for your truck's maintenance, but if you go through the maintenance plan from Toyota, we get an oil change every 10k. Save yourself some money.Lol dam do I?
")
Yup. Every new Toyota comes with 2 years of Toyota Care. When I bought my Taco, they scheduled me in for the first oil change. Same with the 4Runner I just bought. Also, do as you wish for your truck's maintenance, but if you go through the maintenance plan from Toyota, we get an oil change every 10k. Save yourself some money.
I am running synesthetic oil, but was told to still do oil changes at 5000 just because of truck engine. So I still go 5g for oil changes


What do you like differently about the new DOT fogs compared to your previous squadron wide angles?Swapped out amber wide angle to amber SAE fogs
I like the wide angles as my fogs but they do glare to the on coming traffic. Great for off-roading and night trails.What do you like differently about the new DOT fogs compared to your previous squadron wide angles?


Great shots. I am lucky to work on the Ocean every day myselfStorm surf check