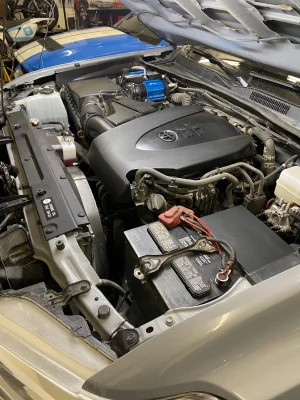
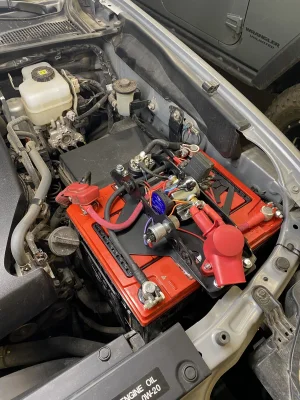
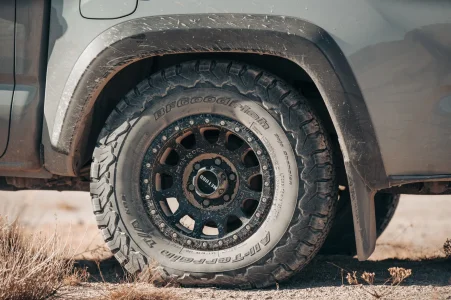
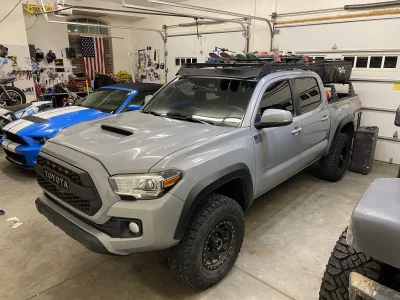
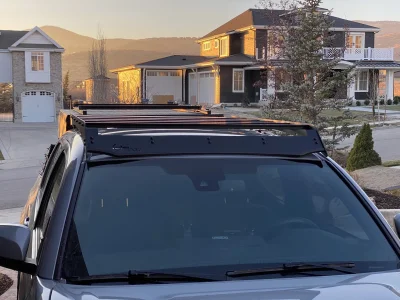
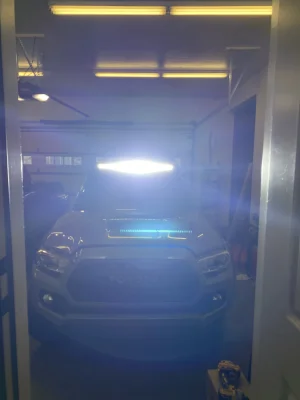
Hi all! Just picked up my new toy on Friday. I've got plans to slowly turn this sucker into a mountain rig.
I love being outside and apart from this new hobby I enjoy building custom motorcycles, photography (side Hussle), dirt biking, and am just getting into paramotoring.
Looking to share build progress through a photographers eye and keep everything high quality. If I start posting phone pictures get on my case.
Thanks guys!


")
")