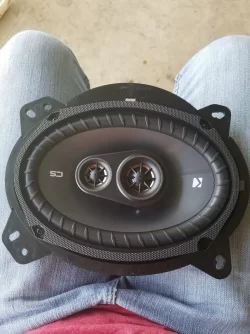
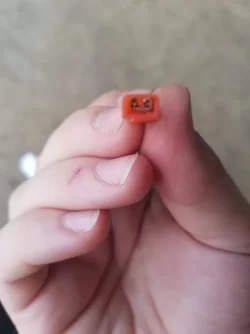
Okay, thought I would do a little write up on installing the kicker door speakers from crutchfield for beginners. I know theres people out there like me who have never done anything with speakers and are complete noobs on installing speakers so, here it goes.
Link to speakers:
Make sure when ordering from crutchfield you put your vehicle in the drop downs. That way you get the wiring harness and adapters that you will need for your vehicle. I will put a picture of what the adapters and harnesses should look like at checkout (not in the picture is the actual speakers)
Tweeters:
I got mine from amazon, here are the ones I ordered, just copy and past the text below and find you the best deal
Genuine Subaru H631SFJ101 Tweeter Kit
Front speakers:
https://www.crutchfield.com/p_206CSC6934/Kicker-43CSC6934.html
Rear speakers:
https://www.crutchfield.com/p_206CSC674/Kicker-43CSC674.html
Also needed to make things MUCH easier:
Also got these trim/panel tool kit from amazon, again, copy and paste and find best deal of you dont already have some
KINGLAKE Auto Door Clip Panel Trim Removal Tool Kits for Car Dash Radio Audio Installer Pry Tool 4Pcs
Okay, now that you got them ordered and are ready for installation, i installed my tweeters a different day so i dont have any pictures but they are SUPER easy to install.
TWEETERS:
Step 1: disconnect battery (just negative is fine)
Step 2: there is a little square looking cover on the post (one on drivers side and two on the "oh s%*t" handle on passenger side), use panel tool to remove cover(s)
Step 3: remove bolts behind that cover (10mm)
Step 4: remove plastic covering the post
Step 5: use panel tool to remove speaker covers on dash
Step 6: remove the 2 10mm bolts holding factory tweeters *note: you will need to use a open wrench for bolt closest to windshield
Step 7: unplug tweeters and remove
Step 8: plug in new tweeters and bolt down with factory bolts
Replace all pieces in reverse order.
*NOTE* when reinstalling the plastic covering over the post, pay close attention to the weather stripping on the door, use a panel tool if needed to make sure to keep the weather stripping on the outside of the plastic covering
Total install time on tweeters, maybe 30 min at most
PREP DOOR SPEAKERS:
Before you remove anything from truck, get your new speakers ready for install.
FRONT 6X9's:
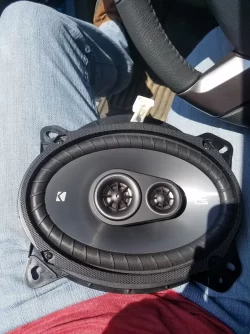
Use the eight black screws (four for each speaker) to attach speaker to adapter. It is a tight fit and doesnt look like the holes line up, but they will.
1)Put three of the screws in, then unscrew them about halfway so you can move the speaker around just a tad. Will have to use your muscles the good Lord gave you and the 4th screw start at an angle to get in the last hole, once you start tightening it up, get it going straight. Again, takes a little bit for forcing, but the 4 screws will fit without having to drill a seperate hole.
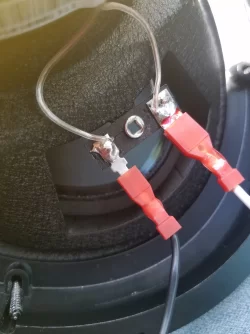
2) there is a hole where you thread the two ends of the wiring harness through to get to the back of the speaker to plug in. Thread the ends through and plug the white wire to the larger post and the black wire to the smaller.
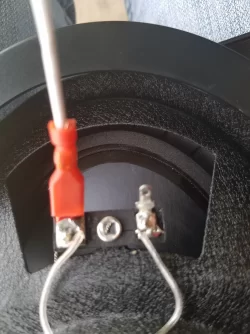
*NOTE* these can be a HUGE pain in the butt to plug in but just take your time, go straight and dont break your speakers, the posts coming from the speakers will bend if your not careful. ALSO, make sure the metal post goes in between the two metal in the wiring harness and not one side against the plastic (see picture)
REAR SPEAKERS PREP:
1)You will have to break off all the tabs on the INSIDE of the adapters, just use a pair of pliers and bend them back, they will break off easy
2) use the black screws that came with speakers and screw speaker to adapter (4 for each speaker)
*NOTE*
I noticed when you put the speakers in the truck, the screws come out too far in the back and wont let the speaker sit flush. You got 2 options, cut the back of the screws off flush with adapter OR just unscrew a little bit where the back of the screw is flush with adapter
3) Again, feed the ends of the wiring harness through the hole on the top of the adapter and plug harness into speakers. Again being careful not to break or bend speaker posts
OKAY your done with the hardest part! Congratulations! Now your ready for installing in your truck.
1) Disconnect negative battery connector (make sure you always keep at least one door open. When your removing pieces of the door panel you might accidently lock yourself out of your tuck. No bueno)
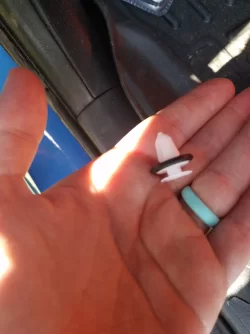
2) Use panel tool and remove piece at top corner of door, the little white clips will stay in the door. Remove the clips and return them to the triangle plastic piece
3) disengage the round clip close to the inside of door (use tool to push round center piece then remove entire clip)
4) use panel tool to pry up the place on the door where the window switches are and unplug (might need a small screw driver or something on drivers side to help unplug the switch)
5) remove the little carpet piece in the door grab handle and remove the screw underneath
6) use panel tool to remove the plastic piece behind the door pull and remove screw underneath
7) use panel tool, starting at bottom of door panel and pry the panel out (there is white clips, some might stay in the door, make sure you get them out of the door and put them back in the door panel before replacing door panel after install)
NOTE* you can remove panel completely and unhook the wires for the handle but i did not. I just used a bungee cord to hold bottom of door panel away from the door while i changed the speakers
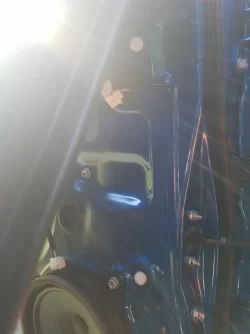
8) unplug speakers and use 10mm wrench to remove belts holding speaker (4 for front speakers, 3 for rear speakers)
9) put new speakers in and use the factory bolts to install the new speakers
10) plug speakers in
11) put everything back in reverse order. You might have to finagle some clips on the door panel to make sure they go into the holes.
There are several videos on youtube if you want to watch on removing the door panels
Well, i think thats about it. For me, this was the first time installing speakers and was a little rough getting the speakers, adapters and harness correct. I will attach some pictures on what its supposed to look like that way you know which way the speakers connect to the adapeters and how the harness is supposed to look. Good luck and congrats on the new speakers! You will love them im sure!

