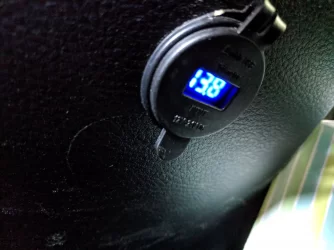
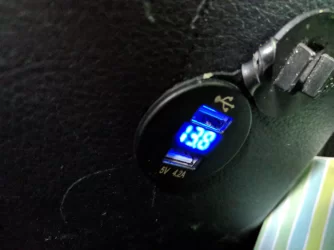
It was requested that I post about this, but I don't have pictures right now so I'm going to describe it as best I can.
The power for this USB is on a relay'd circuit controlled by the ignition so that it is only on when the car is on.
The product recommended: https://powerwerx.com/blue-sea-1045-fast-charge-dual-usb-charger-socket-mount.
-- I used an older 4.2A version, but have used this blue-sea item in a newer project and recommend it.
I ran a 12v power line from under the hood (custom power fuse box) to the gasket in the passenger side firewall of the engine bay. From this gasket I ran the wire under the passenger kick panel. Where I split the wire into two lines and put a 5A inline fuse for both circuits. One goes up the front windshield pillar into the header / center roof console for my USB powered dash cam. The other goes under glove box and into the center console.
This video shows how to remove the main part of the console (NOT ME):
The center console removes without too much effort by removing the stick shift / auto shifter knob, there are screws inside the console compartment under the carpet that must be removed. Once I removed all the plastic of the center console I drilled a circular hole in the back and installed the above USB socket. The socket screws in and has a retaining ring that can be tightened more easily if you pop the contoured section of the armrest off. Once it was all secured I tested before reassembling the center console.
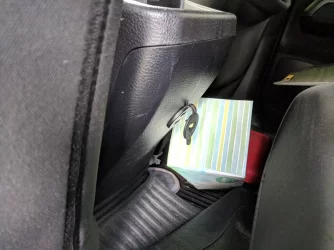
[Placeholder for picture of rear USB port as installed]


