Update 2/13/22!
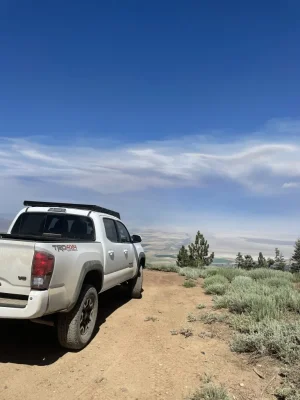
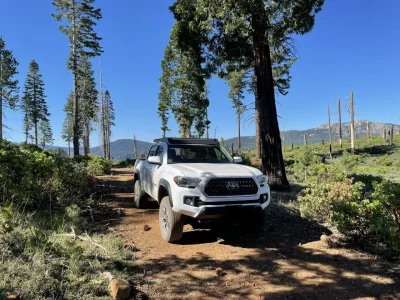
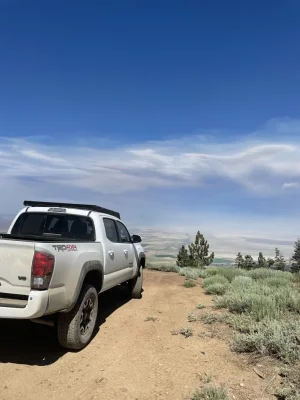
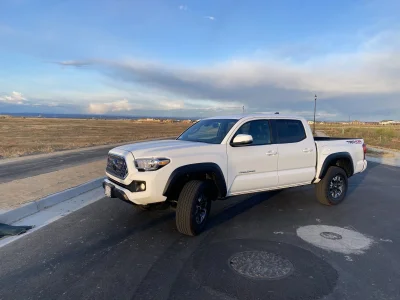
New to gen3 Tacomas, launched my 2018 Ram and picked up a 2019 TRD Off Road. I had an ‘07 Tacoma that I loved previously, and didn’t care for a daily driver that couldn’t handle the trail. Not going for a crawler, just a daily driver that can double as and overland rig. Looking forward to the build and taking the fam outdoors.
Upgrades:
Console and glove box organizer
“Tacoma” tailgate inserts (black)
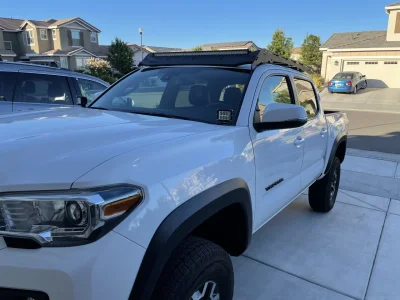
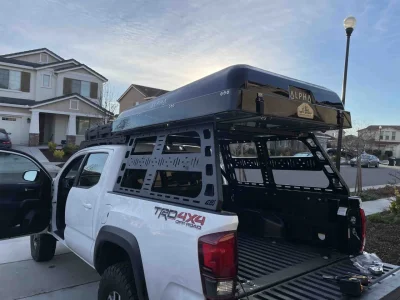
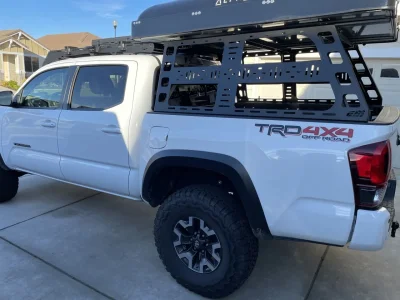
Prinsu Rack
Cali LED 40” bar rack
Cali LED ditch lights
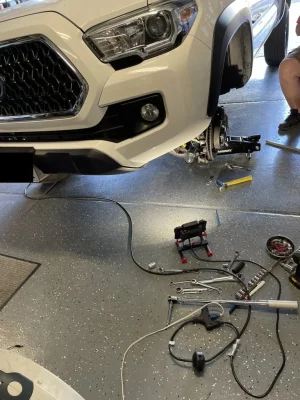
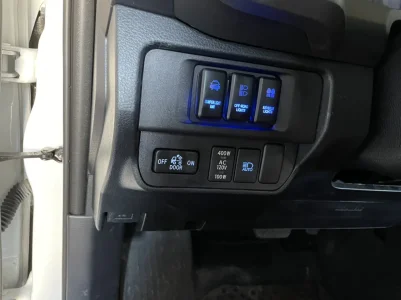
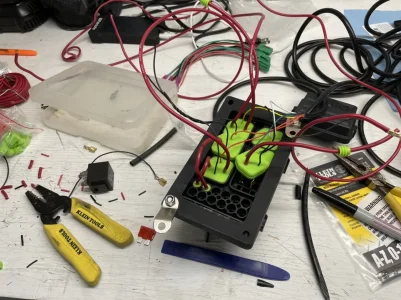
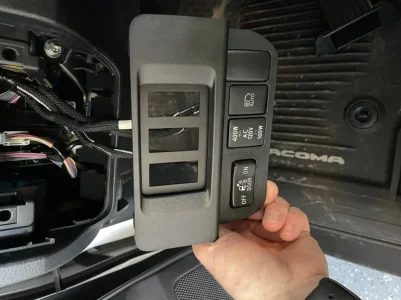
Cali LED switches (custom wiring)
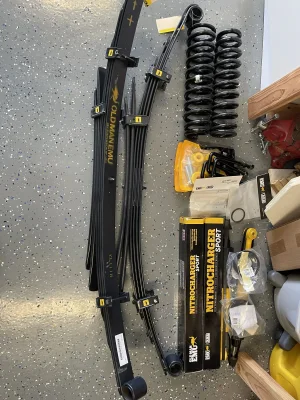
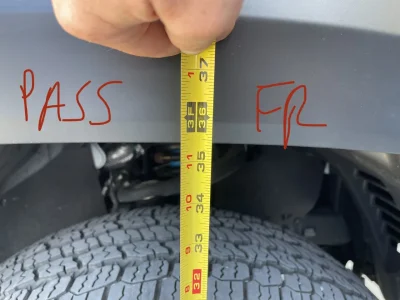
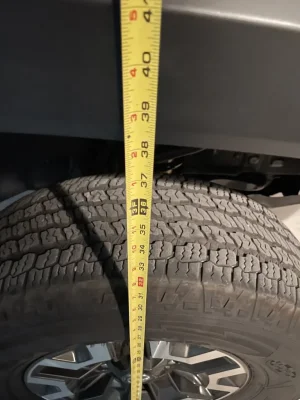
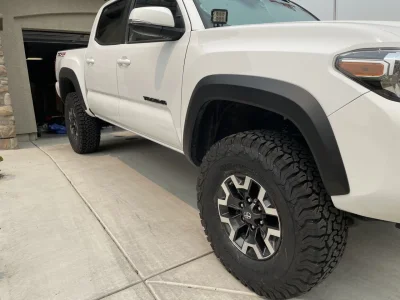
OME medium spring 2” lift
Black out badging
BF Goodrich 285/75/16s
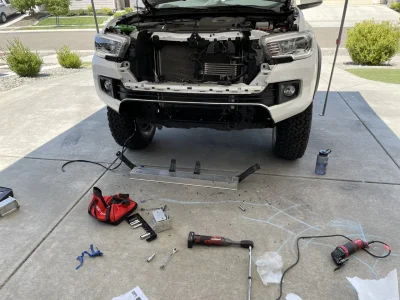
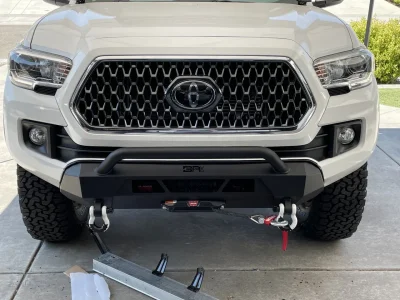
Body Armor Highline bumper
Warn 10Klb winch
CBI Bedrack
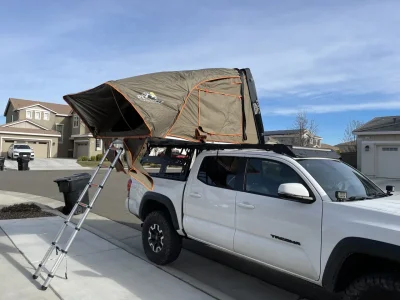
Alpha RTT
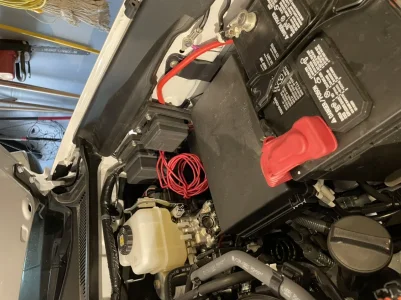
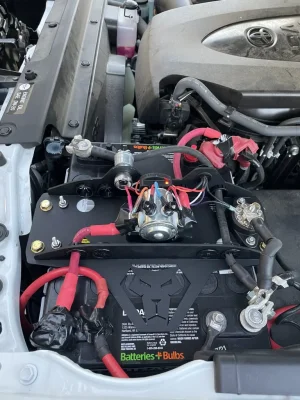
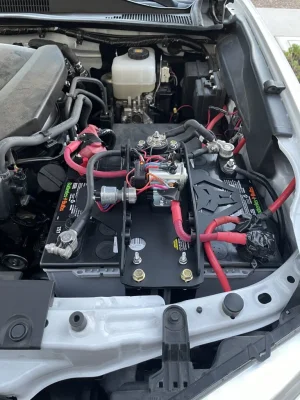
Genesis Dual Batt
Midland MTX115
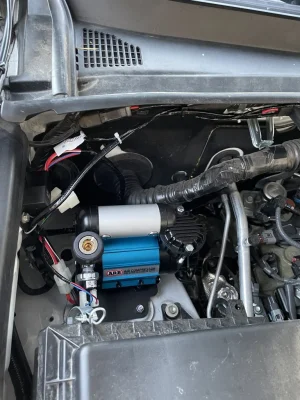
ARB onboard air
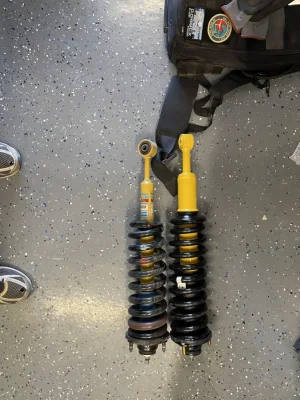
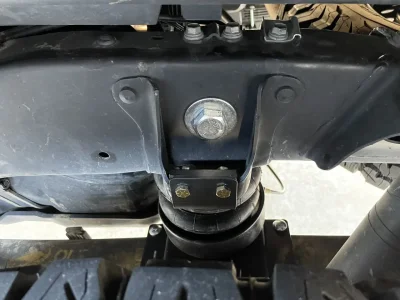
Firestone airbags w/ lower daystar cup
In progress:
Decked system
Wiring harness for accessories
Iceco fridge mount
Kennel mount
Future (still researching ...):
Body Armor pro series rear bumper
Relocate BSM sensors
Sliders
Skid plates
Relocate Y-pipe
Vinyl decals on cab
Ceramic tint
.... aaaand a Magnuson supercharger

New to gen3 Tacomas, launched my 2018 Ram and picked up a 2019 TRD Off Road. I had an ‘07 Tacoma that I loved previously, and didn’t care for a daily driver that couldn’t handle the trail. Not going for a crawler, just a daily driver that can double as and overland rig. Looking forward to the build and taking the fam outdoors.
Upgrades:
Console and glove box organizer
“Tacoma” tailgate inserts (black)
Prinsu Rack
Cali LED 40” bar rack
Cali LED ditch lights
Cali LED switches (custom wiring)
OME medium spring 2” lift
Black out badging
BF Goodrich 285/75/16s
Body Armor Highline bumper
Warn 10Klb winch
CBI Bedrack
Alpha RTT
Genesis Dual Batt
Midland MTX115
ARB onboard air
Firestone airbags w/ lower daystar cup
In progress:
Decked system
Wiring harness for accessories
Iceco fridge mount
Kennel mount
Future (still researching ...):
Body Armor pro series rear bumper
Relocate BSM sensors
Sliders
Skid plates
Relocate Y-pipe
Vinyl decals on cab
Ceramic tint
.... aaaand a Magnuson supercharger
Attachments
Last edited: