- Joined
- Jun 4, 2018
- Messages
- 844
- Reaction score
- 1,969
- Location
- Copperas Cove, TX
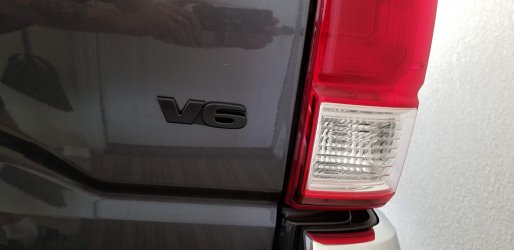
Magnetic Gray
Hey everybody. A little about me.
I live in Copperas Cove, Texas. I moved here from Great Falls Montana after I retired from 22 years in the Air Force. (I hate being cold). I've been married to my beautiful wife for 28 years. I'm originally from Ligonier Pennsylvania.
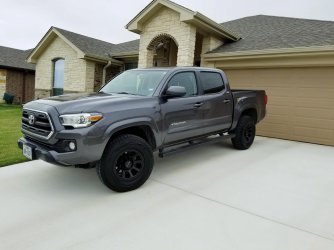
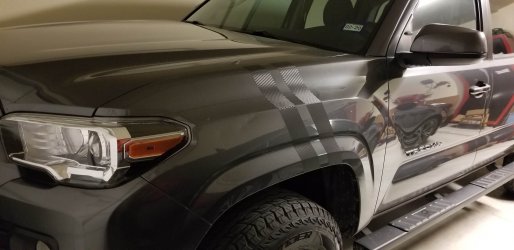
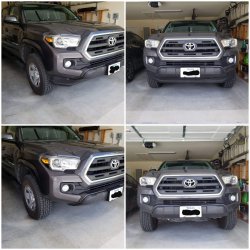
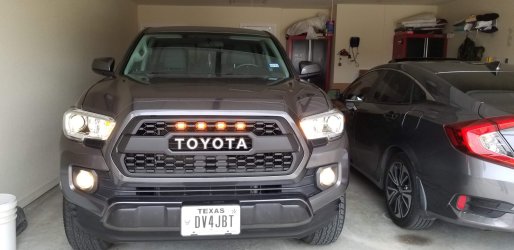
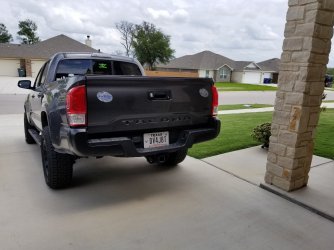
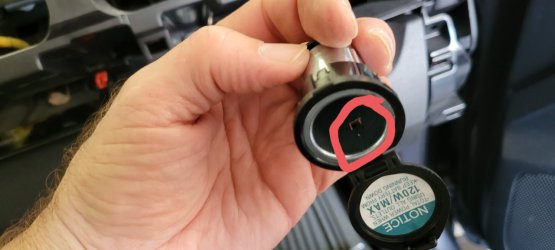
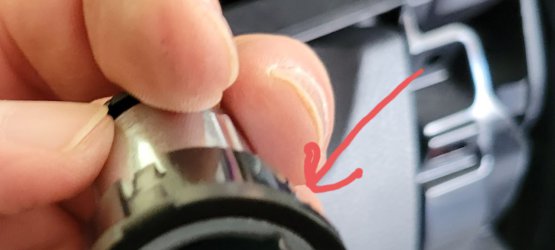
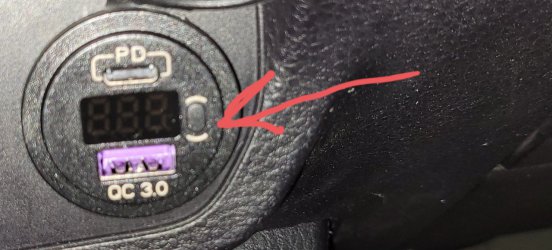
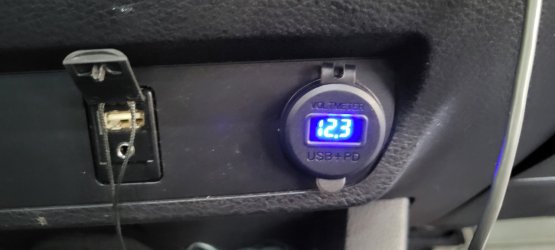
You may think my build is amateur because they are small, inexpensive, but I'm not building a monster truck. I did them because it makes the truck mine.
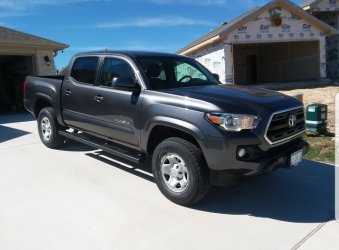
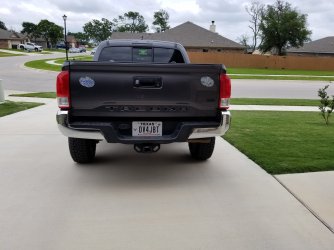
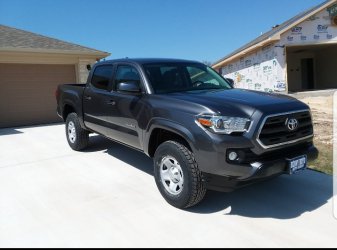
This the day I bought the truck. Plain Jane SR5.
I live in Copperas Cove, Texas. I moved here from Great Falls Montana after I retired from 22 years in the Air Force. (I hate being cold). I've been married to my beautiful wife for 28 years. I'm originally from Ligonier Pennsylvania.
You may think my build is amateur because they are small, inexpensive, but I'm not building a monster truck. I did them because it makes the truck mine.
This the day I bought the truck. Plain Jane SR5.
Attachments
Last edited: